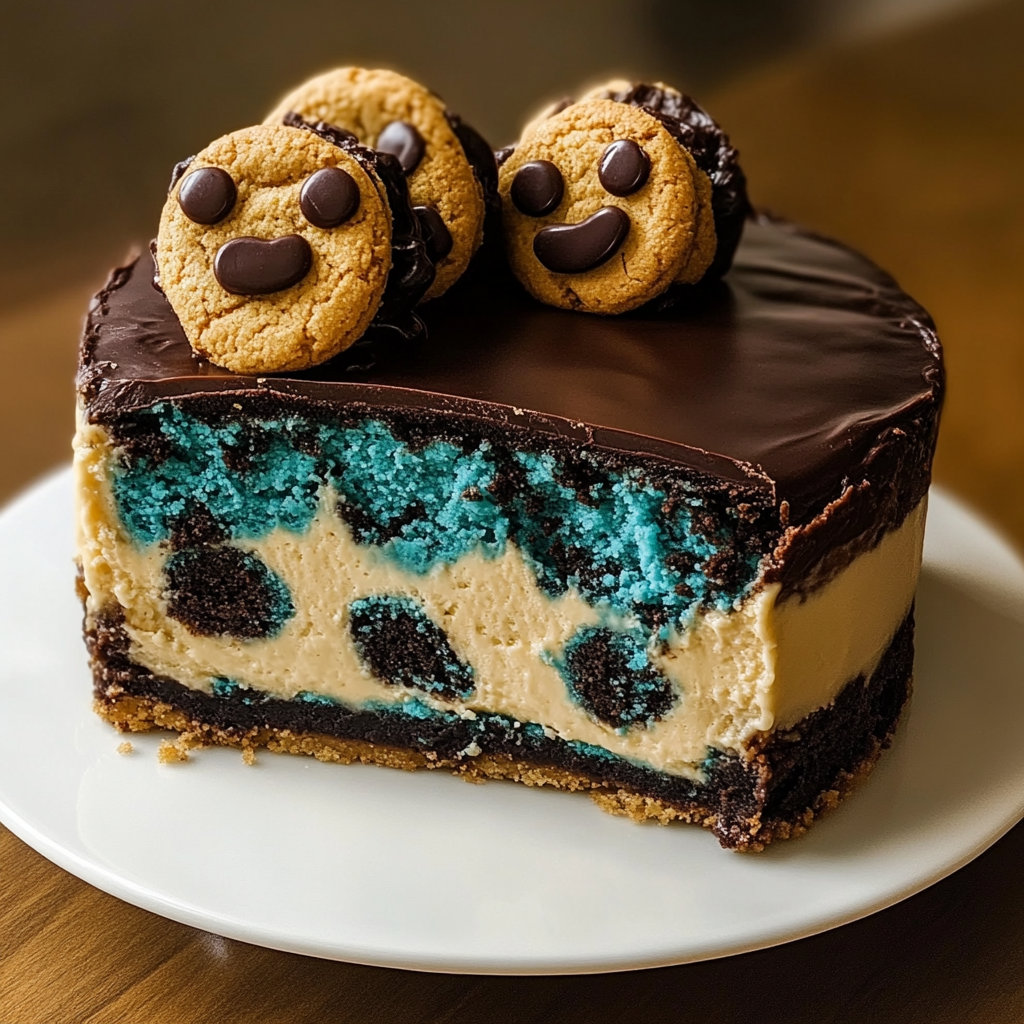
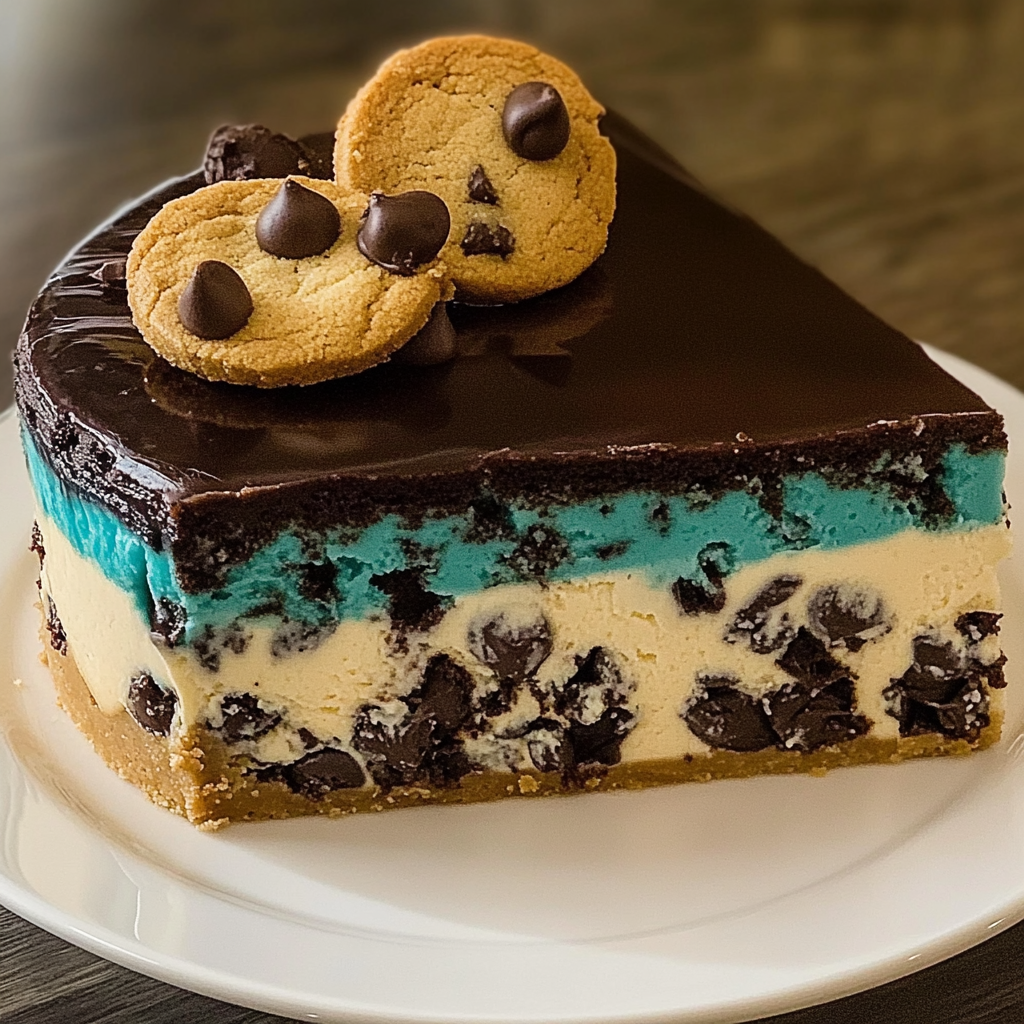
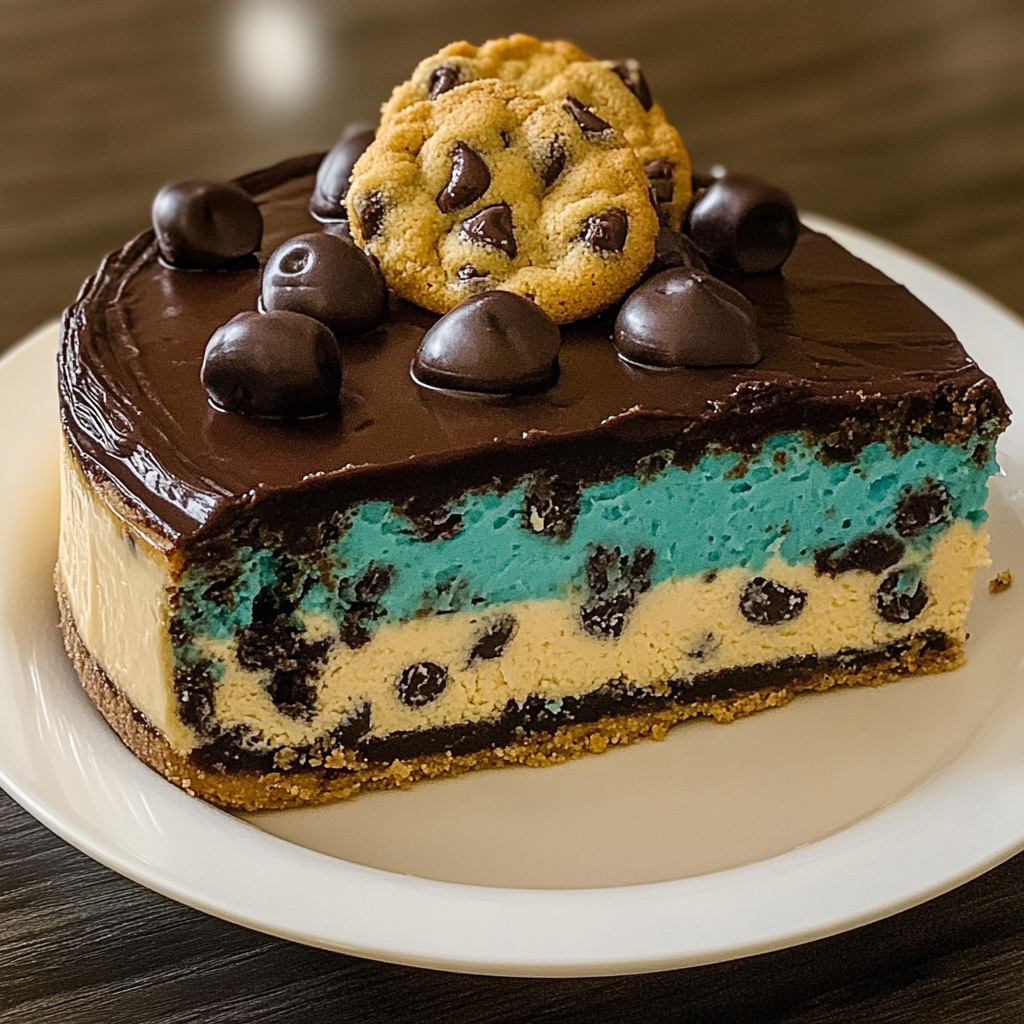
The moment you take a bite of Cookie Monster Cheesecake, your taste buds will party like it’s a cookie jar explosion. Imagine creamy cheesecake meeting the crumbly goodness of cookies, all topped with a sweet, gooey mess that screams indulgence. If you close your eyes while savoring this dessert, you might just hear the faint sound of “C is for cookie” playing in the background as you dive into this delicious creation.
As I whipped up this masterpiece in my kitchen, memories flooded back of my childhood obsession with cookies. My friends and I would devour them after school, giggling over crumbs and milk mustaches. This Cookie Monster Cheesecake isn’t just a treat; it’s an experience that brings joy to any gathering—be it a birthday party or a cozy weekend at home. Get ready for an amazing flavor journey that combines nostalgia with sheer delight!
Why You'll Love This Recipe
- This Cookie Monster Cheesecake is easy to make, ensuring everyone can join in on the fun without stress
- The rich layers provide an exciting mix of flavors sure to please any crowd
- Visually stunning with its vibrant blue hues and cookie crumbles, it’s perfect for Instagramming your dessert game
- Versatile enough to customize with your favorite cookies or toppings, no two cheesecakes need to be alike!
Baking this cheesecake brought back memories when my niece’s eyes widened in surprise as she took her first bite.

Essential Ingredients
Here’s what you’ll need to make this delicious dish:
-
Crushed Cookies: Choose your favorite cookies—Oreos work great for that classic flavor and crunch.
-
Cream Cheese: Use full-fat cream cheese for a rich and creamy texture that melts in your mouth.
-
Sugar: Granulated sugar adds sweetness; adjust according to your preference.
-
Sour Cream: This adds tanginess and creaminess; don’t skip it!
-
Eggs: Ensure they are room temperature for even mixing and baking.
-
Vanilla Extract: A splash of pure vanilla enhances all the flavors beautifully.
-
Blue Food Coloring: Optional but gives that Cookie Monster vibe—go wild with it!
-
Whipped Cream: For topping, homemade is best, but store-bought works too.
-
Chocolate Chips or Sprinkles: These are optional but add extra fun!
The full ingredients list, including measurements, is provided in the recipe card directly below.
Let’s Make It Together
Start by preparing the crust: Preheat your oven to 350°F (175°C). In a bowl, mix crushed cookies with melted butter until crumbly. Press firmly into the bottom of a springform pan and bake for about 10 minutes.
While the crust cools, make the filling: Beat softened cream cheese and sugar together until smooth and fluffy; it should be resembling clouds on a sunny day! Add eggs one at a time, mixing gently after each addition to keep it airy.
Next comes the sour cream: Mix in sour cream along with vanilla extract until combined. If you’re feeling adventurous, stir in blue food coloring until you achieve desired vibrancy—it should look like Cookie Monster just had a fabulous hair day!
Pour the creamy filling over your cooled crust: Spread evenly using a spatula for an even bake. Bake in the oven for about 50-60 minutes until set but slightly jiggly in the center—a little wobble means it’s still creamy!
After baking, allow it to cool completely before chilling in the refrigerator for at least four hours (or overnight if you can resist). Once chilled and ready to serve, top with whipped cream and sprinkle chocolate chips or colorful sprinkles over the masterpiece.
Slice up this delightful cheesecake: Serve chilled and watch everyone’s eyes light up as they take their first bites—trust me; you’ll want to capture those reactions!
Now you know how to create this scrumptious Cookie Monster Cheesecake that marries childhood nostalgia with grown-up indulgence! Enjoy every bite as if you’re sharing cookies with friends once again.
You Must Know
- The Cookie Monster Cheesecake is not just a dessert; it’s an experience
- By incorporating cookie dough and crushed cookies, this cheesecake becomes an irresistible treat that combines textures and flavors, making every bite a delightful surprise
Perfecting the Cooking Process
Start by preparing the crust, then mix the filling while chilling the crust. Bake everything together for optimal flavor absorption and texture melding.

Add Your Touch
Feel free to swap out chocolate chip cookies with your favorite varieties, or add sprinkles to give the cheesecake a fun twist.
Storing & Reheating
Store leftovers in an airtight container in the fridge for up to five days. For serving, let it sit at room temperature for 30 minutes before enjoying.
Chef's Helpful Tips
- To achieve a perfect Cookie Monster Cheesecake, ensure cream cheese is at room temperature for easy mixing
- Use a springform pan for easy removal and presentation
- Always allow cooling time after baking to prevent cracking on top of your cheesecake
It was my best friend’s birthday when I first made this recipe; everyone devoured it within minutes, and I learned that smiles are truly the best feedback.

FAQ
What makes Cookie Monster Cheesecake unique?
The inclusion of cookie dough and crushed cookies creates a delightful texture contrast.
Can I make Cookie Monster Cheesecake ahead of time?
Yes, this cheesecake can be made a day in advance for convenience.
How do I avoid cracks in my cheesecake?
Ensure even baking by letting it cool gradually in the oven with the door ajar.

Cookie Monster Cheesecake
- Total Time: 1 hour 20 minutes
- Yield: Serves 12 1x
Description
Cookie Monster Cheesecake is a delightful dessert that combines creamy cheesecake with cookie crumbles, creating a nostalgic flavor experience. This visually stunning treat features vibrant blue hues and is topped with whipped cream and chocolate sprinkles, making it perfect for any celebration. Easy to prepare, this cheesecake will impress your guests and evoke childhood memories of cookie indulgence!
Ingredients
- 2 cups crushed Oreos
- 1/2 cup unsalted butter, melted
- 16 oz full-fat cream cheese, softened
- 1 cup granulated sugar
- 1 cup sour cream
- 3 large eggs, room temperature
- 2 tsp vanilla extract
- 1/4 tsp blue food coloring (optional)
- 1 cup whipped cream (for topping)
- Chocolate chips or colorful sprinkles (for garnish)
Instructions
- Preheat oven to 350°F (175°C). In a bowl, mix crushed Oreos with melted butter until crumbly. Press firmly into the bottom of a springform pan and bake for about 10 minutes.
- In a separate bowl, beat softened cream cheese and sugar until smooth. Add eggs one at a time, mixing gently after each addition. Incorporate sour cream and vanilla extract; add blue food coloring if desired.
- Pour the filling over the cooled crust and spread evenly. Bake for 50-60 minutes until slightly jiggly in the center.
- Allow cooling completely before refrigerating for at least four hours or overnight. Top with whipped cream and sprinkle with chocolate chips or colorful sprinkles before serving.
- Prep Time: 20 minutes
- Cook Time: 60 minutes
- Category: Dessert
- Method: Baking
- Cuisine: American
Nutrition
- Serving Size: 1 slice (approximately 120g)
- Calories: 350
- Sugar: 28g
- Sodium: 290mg
- Fat: 24g
- Saturated Fat: 13g
- Unsaturated Fat: 9g
- Trans Fat: 0g
- Carbohydrates: 30g
- Fiber: 2g
- Protein: 5g
- Cholesterol: 90mg


