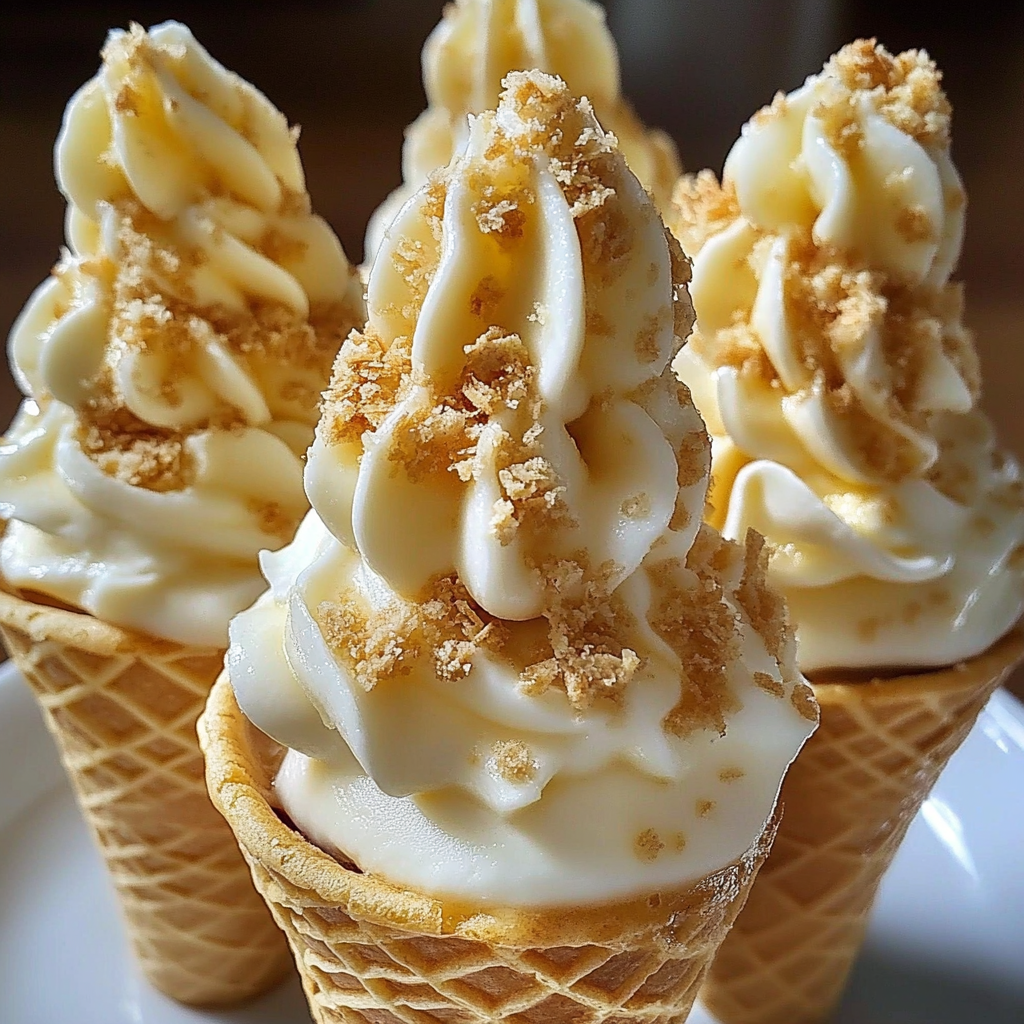
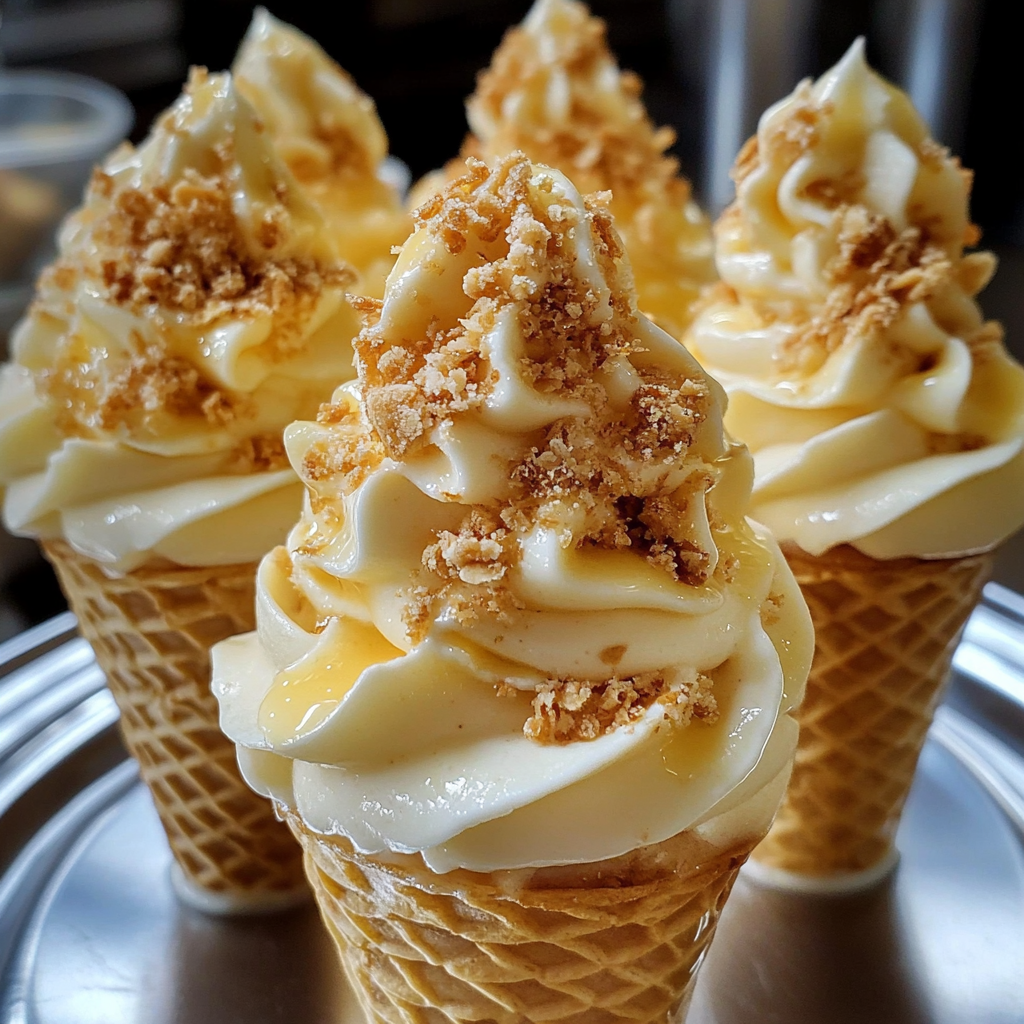
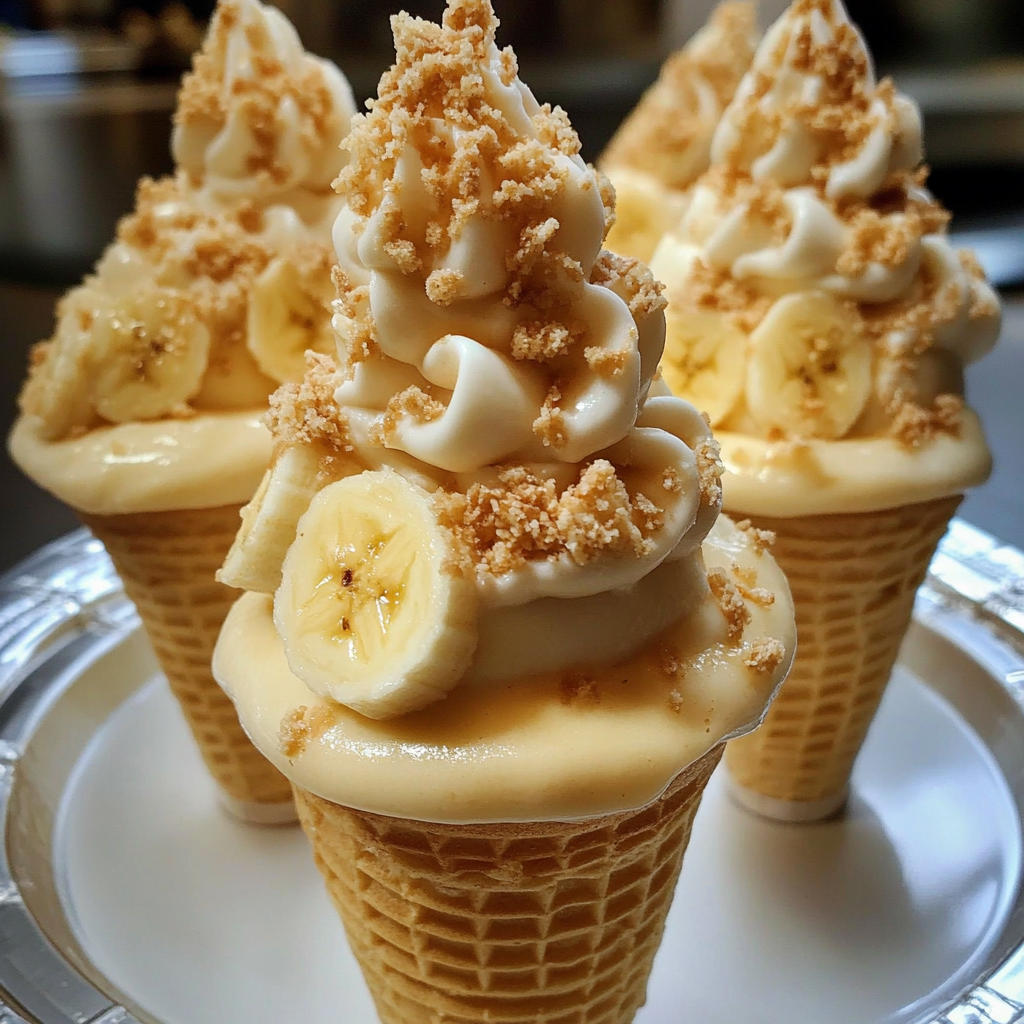
The moment you take a bite of Banana Pudding Cheesecake Cones, you’re greeted with a delightful explosion of flavors that dance on your taste buds. Imagine the creamy richness of cheesecake mingling with the nostalgic sweetness of banana pudding, all wrapped up in a crispy cone. It’s like a carnival treat that got an upgrade and decided to come to your kitchen.
This dessert is perfect for summer barbecues, birthday parties, or just because Tuesday needs a little more joy. I remember making these cones for my niece’s birthday party, and watching her face light up was priceless—who knew a dessert could be such an instant mood booster?
Why You'll Love This Recipe
- These Banana Pudding Cheesecake Cones are incredibly easy to make, blending luscious flavors in every bite
- The visual appeal makes them perfect for any occasion, and they are versatile enough to adapt to your favorite flavors
- Plus, they look so fancy that nobody will believe how simple they are to prepare!
I’ve whipped these cones up multiple times and each time my friends and family rave about them. They always ask for seconds—or thirds.

Essential Ingredients
Here’s what you’ll need to make this delicious dish:
-
Graham Cracker Crumbs: Use finely crushed graham crackers for that classic cheesecake crust flavor; it adds great texture.
-
Unsalted Butter: Melted butter binds the crumbs together while adding richness; make sure it’s fresh!
-
Cream Cheese: Room temperature cream cheese ensures a smooth filling; don’t skip this step for creamy goodness.
-
Sweetened Condensed Milk: This sweet delight adds creaminess and sweetness—perfect for balancing the tang of cream cheese.
-
Banana Pudding Mix: Instant mix saves time without sacrificing flavor; opt for banana-flavored for maximum impact.
-
Whole Milk: Use it to prepare the pudding; full-fat gives a richer taste than skim.
-
Sliced Bananas: Fresh bananas add natural sweetness and texture; use ripe but firm ones for the best results.
-
Ice Cream Cones: Regular or waffle cones work well here; choose based on your personal preference.
-
Whipped Cream: For topping; homemade whipped cream elevates this dish beautifully.
The full ingredients list, including measurements, is provided in the recipe card directly below.
Let’s Make it together
Prepping these Banana Pudding Cheesecake Cones is almost as fun as devouring them! Let’s dive into each step so you can impress everyone at your next gathering.
Create the Graham Cracker Base: In a bowl, combine graham cracker crumbs and melted butter until evenly mixed. The mixture should resemble wet sand—this creates that signature crust!
Prepare the Creamy Filling: Beat room temperature cream cheese until smooth. Gradually add sweetened condensed milk while mixing until fully incorporated—keep going until creamy and dreamy.
Add Flavor with Pudding Mix: Sprinkle in banana pudding mix and whole milk into your cream cheese mixture. Blend until smooth and creamy again—your taste buds will thank you later!
Fold in Bananas: Gently fold in sliced bananas into your filling mixture using a spatula. This gives delightful bites of fruit throughout every cone!
Assemble Your Cones: Spoon or pipe the filling into ice cream cones generously. Top each cone with whipped cream to create that perfect finishing touch that looks oh-so-fancy.
Chill Before Serving: Place assembled cones in the refrigerator for about 30 minutes. This helps everything set perfectly—a little patience goes a long way!
Now imagine serving these beauties at your next gathering—the “oohs” and “aahs” will be worth every minute spent preparing them!
You Must Know
- Banana Pudding Cheesecake Cones are a delightful twist on classic desserts
- They combine creamy cheesecake with the sweet comfort of banana pudding, all in a crispy cone
- These cones not only taste incredible but also look fabulous on any dessert table
Perfecting the Cooking Process
Begin by preparing the cheesecake filling first, allowing it to chill while you assemble the cones. This method ensures that your filling is perfectly set and ready for serving.

Add Your Touch
Consider using chocolate or strawberry cones for an extra flavor twist. You can also swap out vanilla wafers for graham crackers to change the texture and taste.
Storing & Reheating
Store leftover cheesecake filling in an airtight container in the fridge for up to three days. Refill cones just before serving to keep them crispy and fresh.
Chef's Helpful Tips
- To achieve the perfect cheesecake consistency, use room temperature cream cheese for smoother mixing
- Avoid overmixing to prevent air bubbles, ensuring a dense, rich flavor
- Lastly, prepare your cones right before serving to keep them from getting soggy!
Creating these delicious Banana Pudding Cheesecake Cones became a family tradition at our summer gatherings. The excitement on my kids’ faces when they took their first bites was priceless!

FAQ
Can I make Banana Pudding Cheesecake Cones ahead of time?
You can prepare the filling ahead but fill the cones just before serving.
What type of bananas should I use?
Use ripe bananas for better sweetness and creaminess in your dessert.
How do I keep my cones from getting soggy?
Fill the cones right before serving, ensuring they remain crispy and fresh.

Banana Pudding Cheesecake Cones
- Total Time: 0 hours
- Yield: Serves 8
Description
Indulge in the delightful fusion of creamy cheesecake and sweet banana pudding, all served in a crispy cone. These Banana Pudding Cheesecake Cones are not only a feast for the taste buds but also an eye-catching addition to any dessert table. Perfect for summer barbecues, birthday parties, or simply to brighten up your week, this dessert will bring smiles to everyone’s faces!
Ingredients
- 1 cup graham cracker crumbs
- 4 tbsp unsalted butter (melted)
- 8 oz cream cheese (room temperature)
- 1 can (14 oz) sweetened condensed milk
- 1 package (3.4 oz) banana pudding mix
- 1 cup whole milk
- 2 ripe bananas (sliced)
- 8 ice cream cones (regular or waffle)
- 1 cup whipped cream (for topping)
Instructions
- In a bowl, mix graham cracker crumbs and melted butter until combined; it should have a wet sand texture.
- Beat room temperature cream cheese until smooth, then gradually add sweetened condensed milk and mix until creamy.
- Stir in banana pudding mix and whole milk, blending until smooth.
- Gently fold in sliced bananas into the cream mixture.
- Spoon or pipe the filling into the ice cream cones and top with whipped cream.
- Chill the assembled cones in the refrigerator for about 30 minutes before serving.
- Prep Time: 20 minutes
- Cook Time: N/A
- Category: Dessert
- Method: Chilling
- Cuisine: American
Nutrition
- Serving Size: 1 cone (approximately 130g)
- Calories: 320
- Sugar: 24g
- Sodium: 200mg
- Fat: 16g
- Saturated Fat: 10g
- Unsaturated Fat: 5g
- Trans Fat: 0g
- Carbohydrates: 42g
- Fiber: 1g
- Protein: 4g
- Cholesterol: 30mg


